-
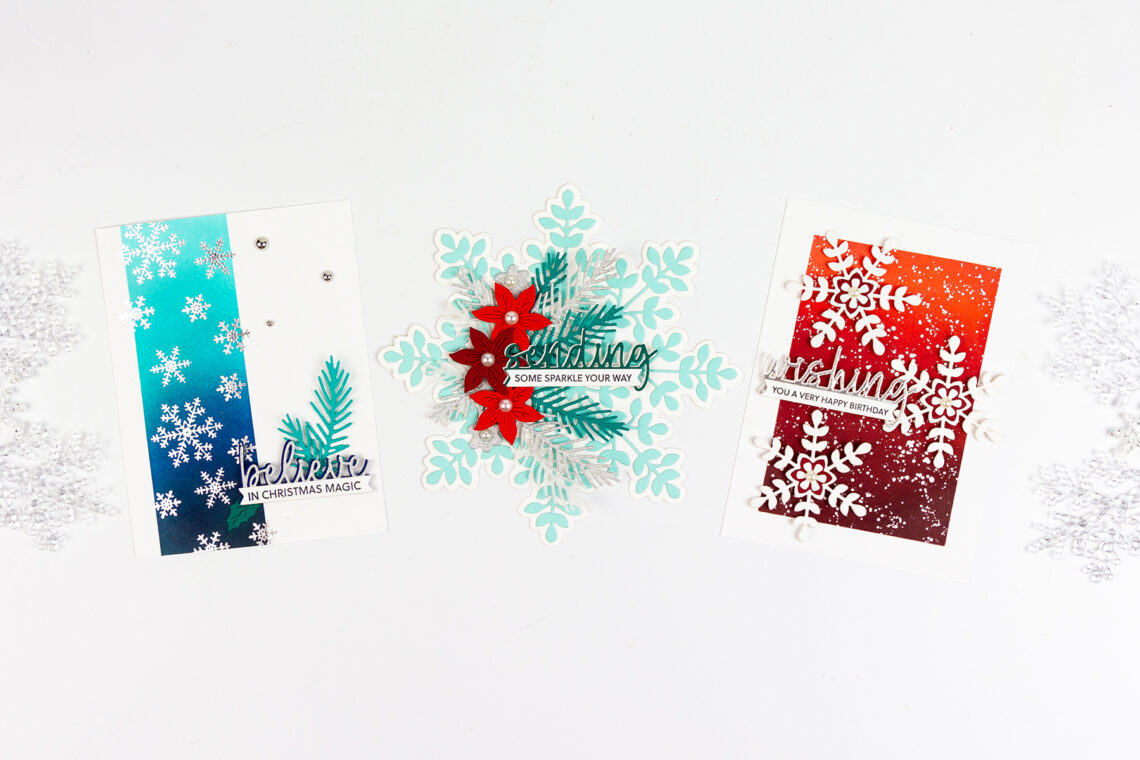
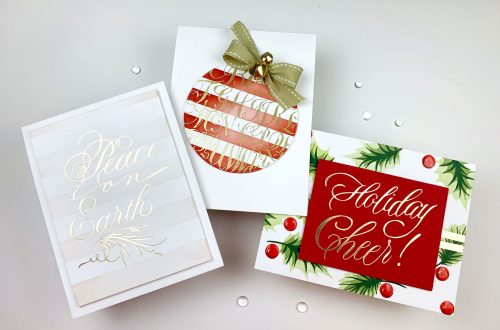
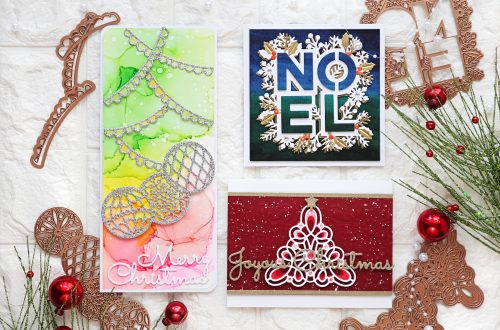
Ornate Snowflake Ideas with Bibi’s Snowflakes
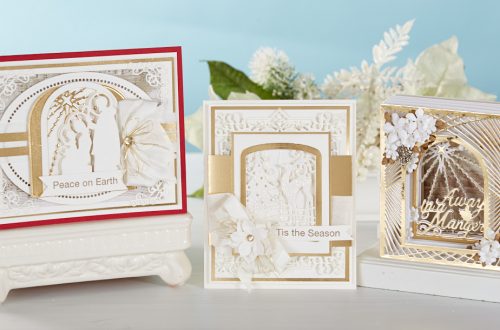
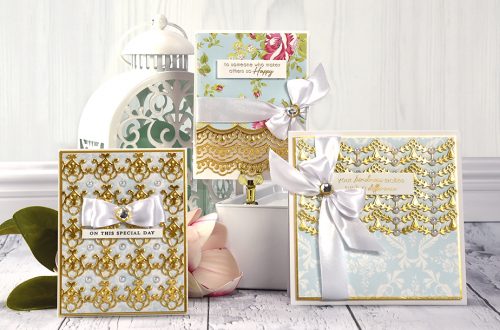
Hello crafty friends! It’s Rachel Alvarado from RachelAlvaradoDesigns.com. I have a variety of projects to share with you today using products from the new and gorgeous Bibi’s Snowflakes Collection. I love how ornate and versatile this collection is! Not only are these sets perfect for the holidays, but you can use them all year round when using certain snowflake stems as floral pieces. Large and Elegant Snowflake Card My first project features the large and ornate snowflake from the Snowflake Card Creator Etched Dies Set. To start, I first die-cut my card base from a piece of Snowdrift Card Stock and then layered it with an intricate snowflake cut from…
-
The Envelope of Wonder Collection – Taming Overwhelm
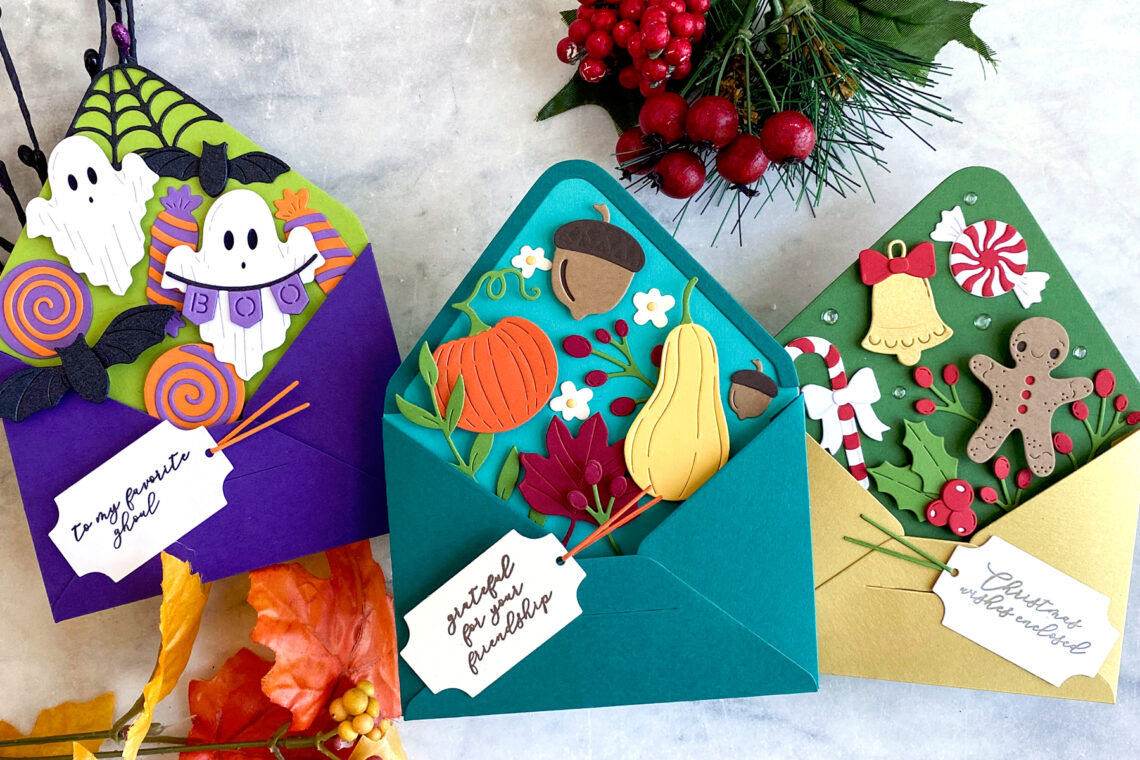
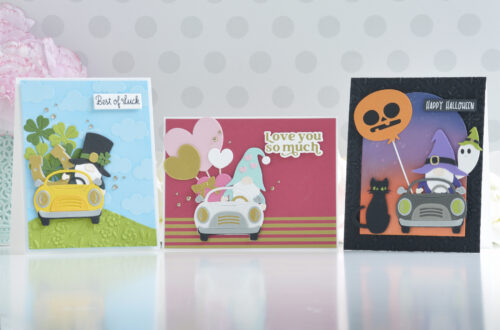
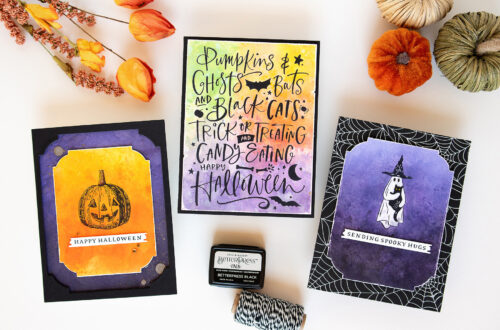
Hello! Jean Manis is here to talk about feeling overwhelmed when faced with an abundance of choices, specifically with crafting projects that involve a lot of die-cutting. The secret to working with die sets containing dozens of pieces without getting lost? Set limits to enhance your creativity. Let us delve into this topic as we explore three projects created with the Spellbinders Envelope of Wonder Collection. The Envelope of Wonder Collection offers a multitude of design possibilities. Look at all of those incredible dies! The open envelope, as a card base, serves as a foundation for the themed die sets: Halloween, Autumn, and Christmas. So how will we conquer the…
-
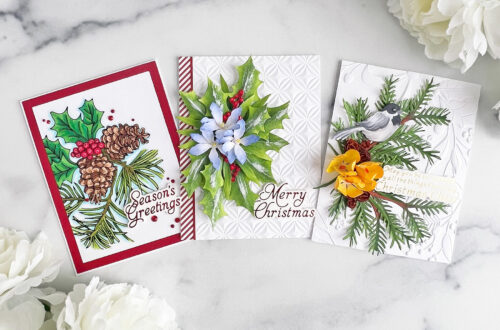
It’s Time to Get Stitching with Stitched for Christmas!
Hello crafters! Joan Bardee here and I’m happy to be back on the Spellbinders blog sharing some holiday cards using the Stitched for Christmas collection. Yes, Christmas! I’ve been crafting long enough to remember when companies would release their Christmas products in November, which never left me enough time to use them. So, I am thrilled to see Christmas in July. Chose a slightly nontraditional Christmas color palette, substituting aqua or teal for green. Note: I made these cards before the sentiments in this collection were available, so I used sentiments from last year’s collections. Warm & Cozy Sweater This card was inspired by all the sweaters my mom made…
-
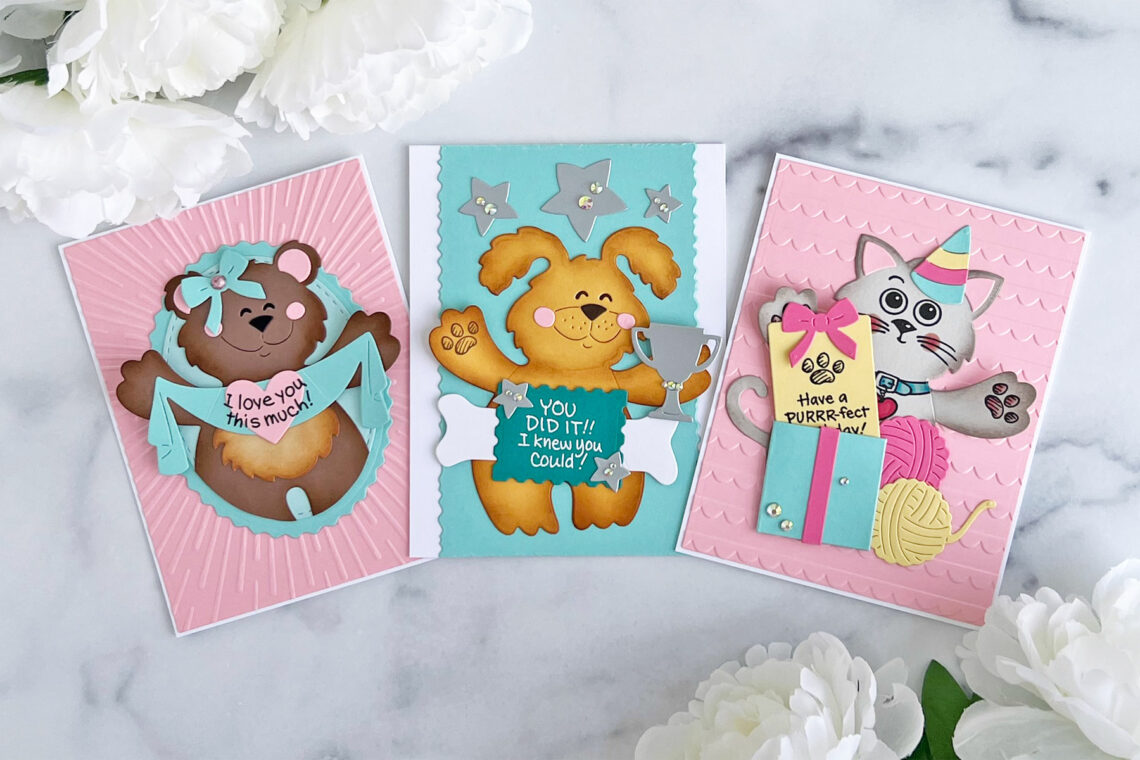
Stampendous Hugs With Brenda Noelke
Hello, crafty friends!! Brenda Noelke here from My PaperCut Creations! I’m super excited to be guest posting on the Spellbinders blog again today! I’m sharing three cards using the Stampendous Hugs Collection!!! This collection is soooo adorable!! There is the most darling bear, kitten, and puppy included with so many different options for personalizing them for your specific occasions!! I LOVE YOU BEAR For my first card, I die-cut the largest bear from the Bear Hugs Die Set from Latte, Alabaster, Onyx and Pink Sand cardstock. I blended a bit of Distress Oxide Inks around the outside of the die-cuts for dimension, then adhered all of the pieces together with…
-
Send Hugs Through Cards with Leica Palma
Hey there, crafty friends! It’s Leica here, and I’m excited to share three cards I made using the new Stampendous Hugs Collection from Spellbinders. These critters are just too cute, and I had a blast creating these cards. Let’s start with my first card. I used the Stampendous Kitty Hugs Etched Dies to cut out an adorable kitty from Fog cardstock. I used different colored cardstock to create all the other elements and filled the card with these cute pieces. Adding a party hat and a bow gave it a playful touch. I stamped a sentiment from the Stampendous Kitty Hugs Faces and Sentiments Clear Stamp Set on a panel…
-
Birthday Explosion Box How-To
Hello crafty friends! It’s Rachel Alvarado from RachelAlvaradoDesigns.com, and I have a fun (and fairly simple) birthday explosion box to share with you today! I have step-by-step instructions below to help you figure out how to make the main portion of the box. I used birthday-themed items here, however, you can use whatever colors and decorations that you like! Переглянути цей допис в Instagram Допис, поширений Spellbinders Paper Arts (@teamspellbinders) Step-by-Step Instructions To start, I created my largest box first – which would be my outer layer. I trimmed 5 pieces of card stock and then scored a ½” tab on the 4 side pieces as shown above.…
-
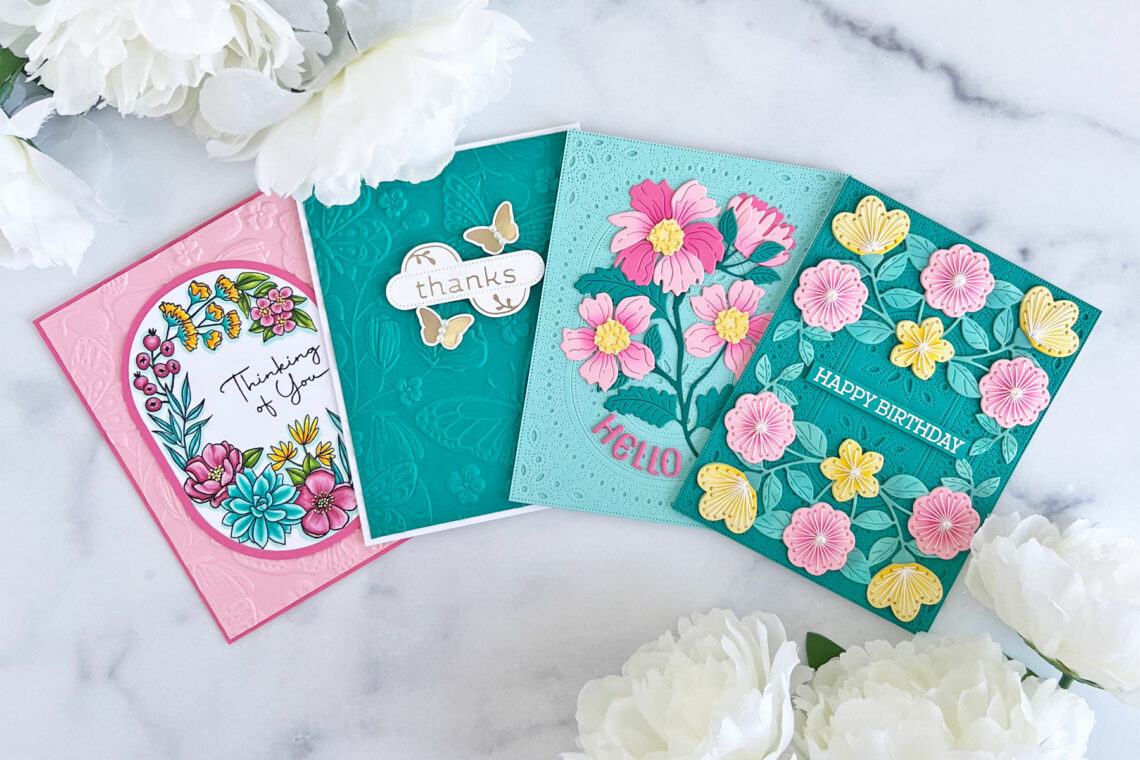
The Stylish Ovals Collection With Brenda Noelke
Hello, crafty friends!! Brenda Noelke here from My PaperCut Creations! I’m super excited to be a guest on the Spellbinders blog again today! I’m sharing three cards using the Stylish Ovals Collection!! There is something for everyone in this collection…stamps, dies, embossing folders, foil stamping, and stitching dies!! It’s AMAZING! THINKING OF YOU CARD I began by stamping the image and sentiment from the Stylish Oval Birthday Wishes Stamp Set onto white cardstock with Copic-friendly black ink. I colored it with Copic markers and die-cut it with a die from the Essential Stylish Ovals Etched Dies. I also die-cut Fruit Punch cardstock with the next largest die in the same…
-
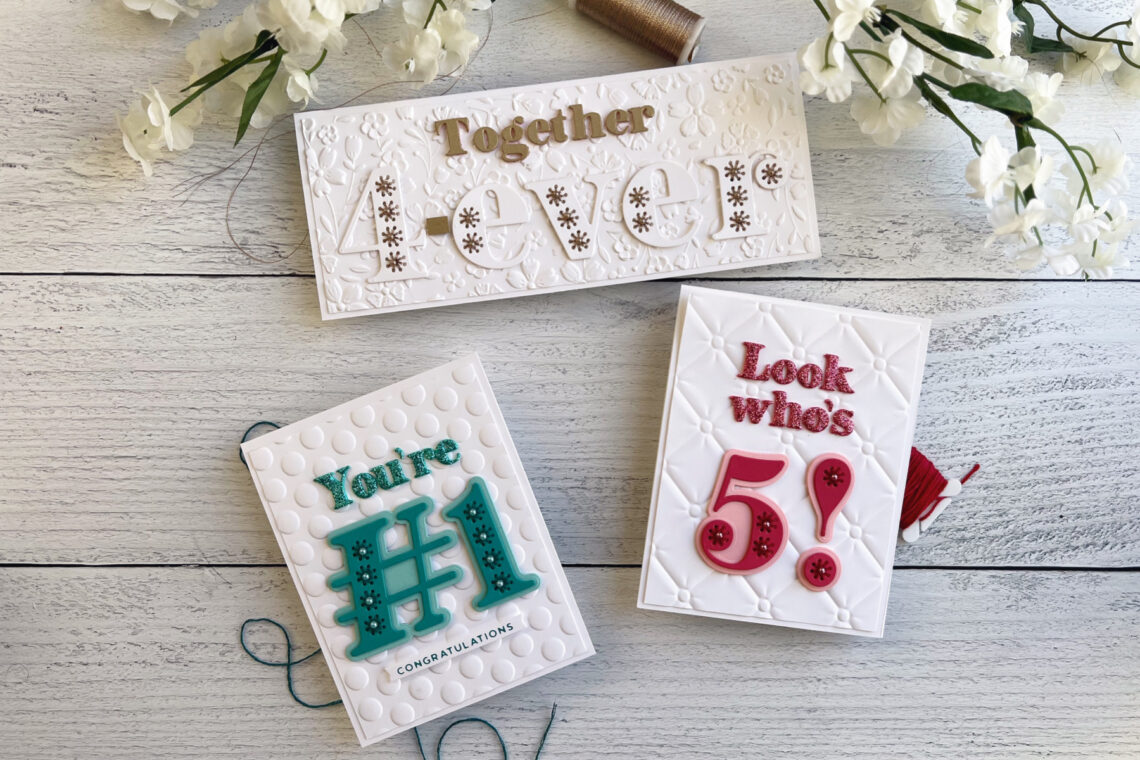
Stitched Numbers and Punctuation Inspiration With Jennifer Kotas
Hello! I’m Jen Kotas from Who Stole My Glitter and I’m happy to be here today to share three cards featuring the Stitched Numbers and More Collection. I absolutely love stitching on cards and these new numbers and punctuation complement the stitched letters and are a new favorite. The instructions for each card are mostly the same so I’ve written them out only once, making note of differences. Die cut the stitched number, punctuation, and letter dies from Stitched Numbers and Stitched Punctuation and Symbols Etched Dies out of the desired color of cardstock twice and adhere them together. I used Snowflake, Wild Berry, and Lagoon. Stitch the die cuts…
-
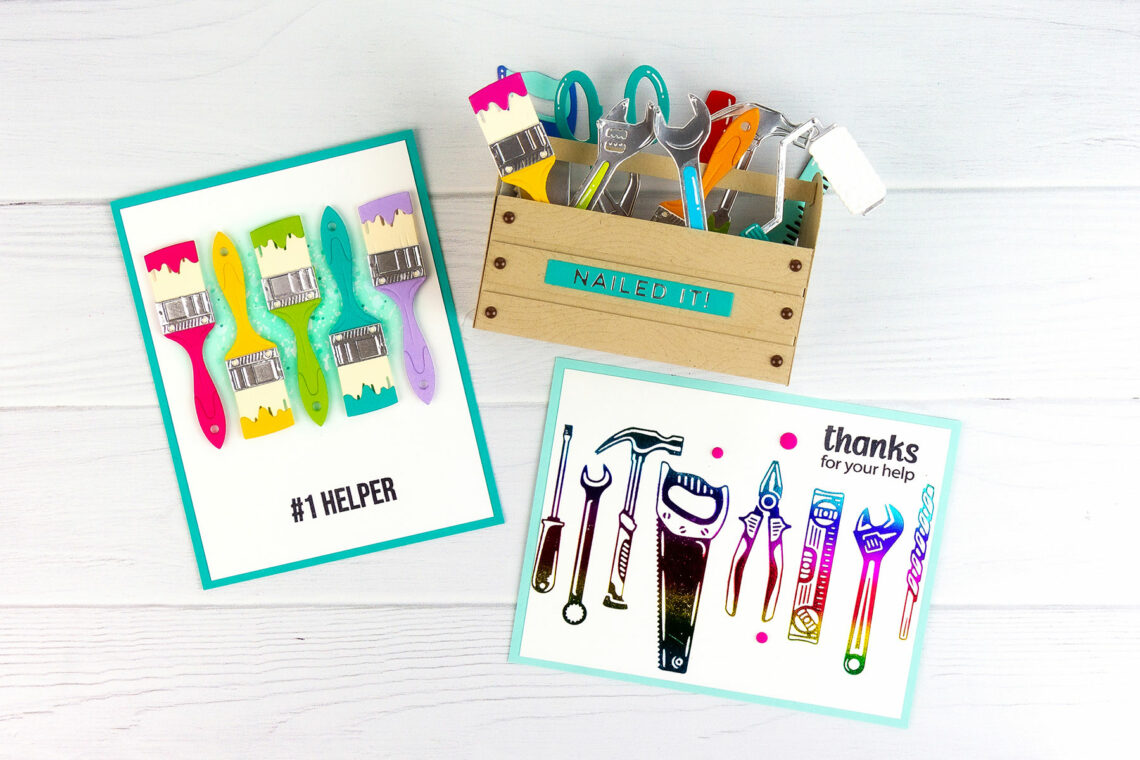
Colorful Toolbox Essentials Cardmaking Ideas
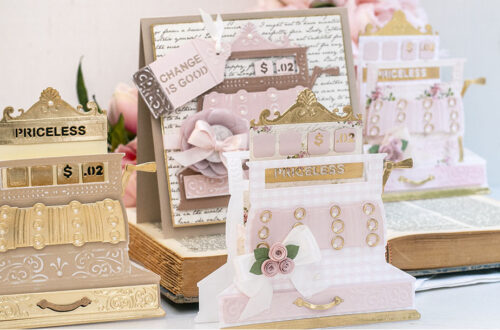
Hello crafty friends! It’s Rachel Alvarado from RachelAlvaradoDesigns.com. I am so happy to be back for another guest post on the Spellbinder’s blog! I have three projects to share with you today that feature the new Toolbox Essentials Collection by Nancy McCabe. Toolbox Pop-up Card For my first card, I created a fun mini toolbox pop-up card. To start, I first created my toolbox base using some Kraft Card Stock, a paper trimmer, a scoring board, and some adhesive. Box Card Measurements: Cut 2 strips of kraft card stock to 6” x 1 ¾” Score each piece at 1.5” and 5.5” on the long side Adhere pieces together by adding…
-
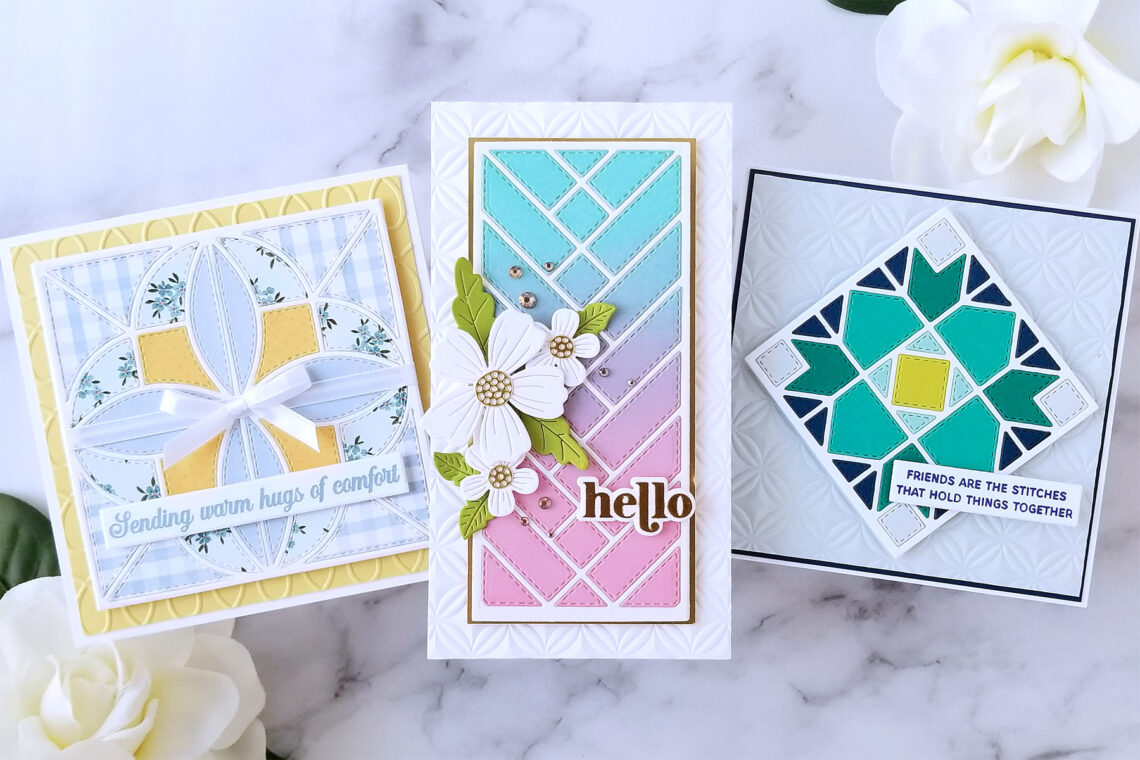
Colorful Paper Quilt Cards
Hi there, this is Annie Williams and I’m excited to be back on the blog today to share a couple of projects using the new Home Sweet Quilt Collection by Becca Feeken. The gorgeous quilt-inspired patterns and beautiful heartfelt sentiments in the collection inspired me to create three pretty cards for different occasions. Floral Hello Card I was so taken by the beautiful and unique French Braid Panel design that I decided to try it out first. Here I combined a fun color-blended background with simple white flowers for this pretty mini slimline hello card. Die cut white cardstock once using the French Braid Panel Die insert and outline dies.…